|
|
||
|---|---|---|
| .. | ||
| assets | ||
| blueprints | ||
| templates | ||
| vendor | ||
| CHANGELOG.md | ||
| LICENSE | ||
| README.md | ||
| blueprints.yaml | ||
| composer.json | ||
| composer.lock | ||
| feed.php | ||
| feed.yaml | ||
| hebe.json | ||
README.md
Grav Syndication Feed Plugin
feed is a Grav plugin and allows Grav to generate feeds of your pages.
This plugin supports Atom 1.0, RSS and JSON feed types. Enabling is very simple. just install this plugin in the /user/plugins/ folder in your Grav install. By default, the plugin is enabled and provides some default values.
| NOTE: JSON feeds must be enabled manually in the plugin configuration as the .json extension is commonly used and this can conflict with other plugins.
If you do enable the JSON feed, you will want to edit feed.json.twig. Replace the placeholder data on lines 2 and 3 (feed_url and author:url) with your own data. You may also want to change the formatting of the date on lines 8 and 9.
Installation
Installing the Feed plugin can be done in one of two ways. Our GPM (Grav Package Manager) installation method enables you to quickly and easily install the plugin with a simple terminal command, while the manual method enables you to do so via a zip file.
GPM Installation (Preferred)
The simplest way to install this plugin is via the Grav Package Manager (GPM) through your system's Terminal (also called the command line). From the root of your Grav install type:
bin/gpm install feed
This will install the Feed plugin into your /user/plugins directory within Grav. Its files can be found under /your/site/grav/user/plugins/feed.
Manual Installation
To install this plugin, just download the zip version of this repository and unzip it under /your/site/grav/user/plugins. Then, rename the folder to feed. You can find these files either on GitHub or via GetGrav.org.
You should now have all the plugin files under
/your/site/grav/user/plugins/feed
NOTE: This plugin is a modular component for Grav which requires Grav, the Error and Problems plugins, and a theme to be installed in order to operate.
Usage
The feeds work for pages that have sub-pages, for example a blog list view. If your page has a content, then the RSS plugin will automatically be enabled. Simply append either .atom, .rss or .json to the url. For example, if you have a blog page that defines a content header to display a list of blog pages in a list, and the URL is http://www.mysite.com/blog then the feed would simply be:
http://www.mysite.com/blog.atom
or
http://www.mysite.com/blog.rss
or
http://www.mysite.com/blog.json
Autodiscovery
To let feed readers discover the feed automatically, add a link to your HTML <head> tag:
<link rel="alternate" type="application/atom+xml" title="My Feed" href="{{ base_url }}.atom" />
<link rel="alternate" type="application/rss+xml" title="My Feed" href="{{ base_url }}.rss" />
<link rel="alternate" type="application/json" title="My Feed" href="{{ base_url }}.json" />
Creating Feed Buttons in Your Pages
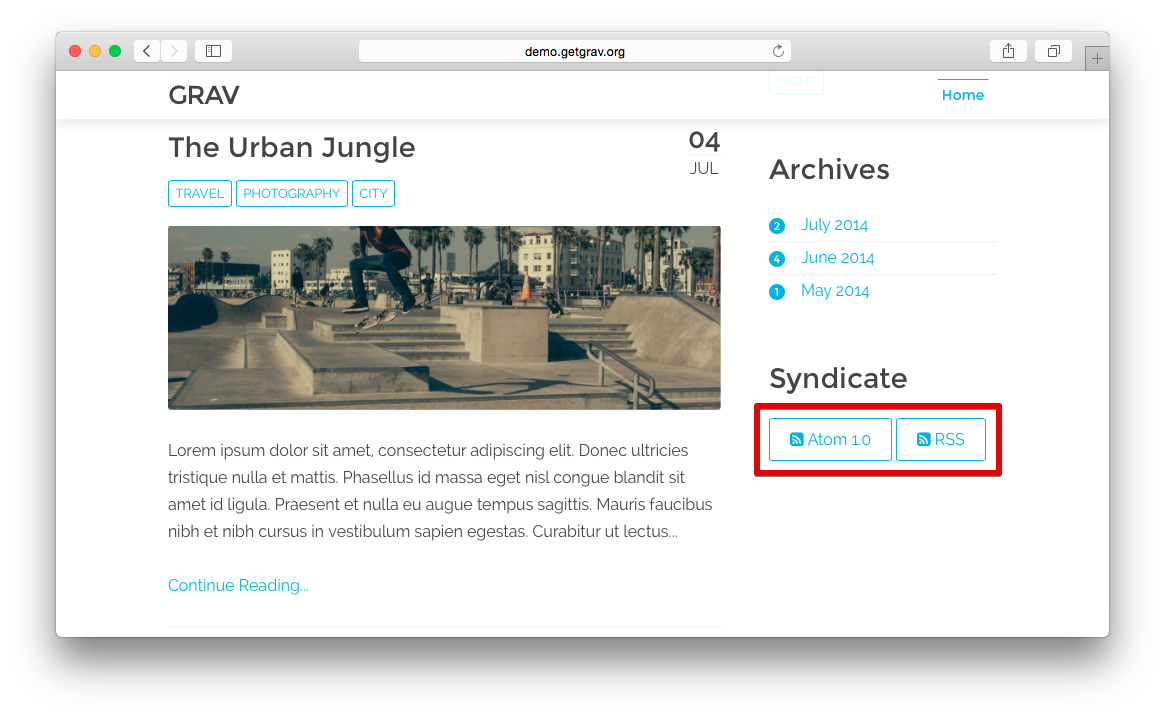
Just having the plugin loaded and activated is enough to get it working, but you can help users find your feeds by creating buttons in the body of your page users can easily discover and click on to access the feeds.
In our [Blog Skeleton] demo, you will see these buttons located in the sidebar under the heading Syndicate. This was done very easily by adding the following information to the sidebar.html.twig template file found under /user/themes/antimatter/templates/partials/.
<a class="button" href="{{ base_url }}.atom"><i class="fa fa-rss-square"></i> Atom 1.0</a>
<a class="button" href="{{ base_url }}.rss"><i class="fa fa-rss-square"></i> RSS</a>
The first line adds the Atom feed by simply adding .atom to the base URL of the site, while the second handles RSS. This a very simple way to add a useful feature to your site that your visitors will enjoy.
Config Defaults
enabled: true
limit: 10
title: 'My Feed Title'
description: 'My Feed Description'
length: 500
enable_json_feed: false
show_last_modified: false
You can override any of the default values by setting one or more of these in your blog list page where sub_pages is defined. For example:
title: Sample Blog
content:
    items: @self.children
    limit: 5
    pagination: true
feed:
    limit: 15
    description: Sample Blog Description
You can ensure a particular page is skipped from the feed by adding the following in the frontmatter header:
title: Sample Blog
feed:
    skip: true
Updating
As development for the Feed plugin continues, new versions may become available that add additional features and functionality, improve compatibility with newer Grav releases, and generally provide a better user experience. Updating Feed is easy, and can be done through Grav's GPM system, as well as manually.
GPM Update (Preferred)
The simplest way to update this plugin is via the Grav Package Manager (GPM). You can do this with this by navigating to the root directory of your Grav install using your system's Terminal (also called command line) and typing the following:
bin/gpm update feed
This command will check your Grav install to see if your Feed plugin is due for an update. If a newer release is found, you will be asked whether or not you wish to update. To continue, type y and hit enter. The plugin will automatically update and clear Grav's cache.
Manual Update
Manually updating Feed is pretty simple. Here is what you will need to do to get this done:
- Delete the
your/site/user/plugins/feeddirectory. - Downalod the new version of the Feed plugin from either GitHub or GetGrav.org.
- Unzip the zip file in
your/site/user/pluginsand rename the resulting folder tofeed. - Clear the Grav cache. The simplest way to do this is by going to the root Grav directory in terminal and typing
bin/grav clear-cache.
Note: Any changes you have made to any of the files listed under this directory will also be removed and replaced by the new set. Any files located elsewhere (for example a YAML settings file placed in
user/config/plugins) will remain intact.
Overriding the default feed template:
Sometimes, you may wish to use a different template for an RSS/ ATOM/ JSON feed. To override a feed's template, place the following in the page header:
feed:
    template:
        rss: my-override
Create the my-override.rss.twig in your theme/ plugin's templates folder and add it to your twig template paths. Change *.rss.* to *.atom.* or *.json.* to override those page types.
Nginx Note:
If you are having trouble with 404s with Nginx, it might be related to your configuration. You may need to remove the feed extensions from the list of types to cache as static files: .xml, .rss, and .atom. For example:
# Cache static files
location ~* \.(ogg|ogv|svg|svgz|eot|otf|woff|mp4|ttf|css|js|jpg|jpeg|gif|png|ico|zip|tgz|gz|rar|bz2|doc|xls|exe|ppt|tar|mid|midi|wav|bmp|rtf|swf)$ {
  add_header "Access-Control-Allow-Origin" "*";
  access_log off;
  log_not_found off;
  expires max;
}